Saturday, 2 June 2012

Yard Sales and Felt Food

Today is a beautiful sunny day, my husband is working some extra shifts to make up for the time he will be taking off in a few weeks once baby arrives. So its just me and A today.
I am getting rather frustrated with having no backyard toys for her to play with and there is only so much coloring you can do on the sidewalk, especially when you are 35 weeks pregnant. So I decided to load her up into our truck and go garage sale shopping.  
This is not something I normally do. I love the idea of being able to find some second hand items that are in good shape, but I never seem to find anything that is worth the time and effort it takes to load and unload a grumpy toddler from the truck. 

Today, however, I felt like I should at least try. We need toys for the yard and with the renovations coming up we really cannot afford to spend much on them. 
It was a glorious day. I decided that if I didn't see anything as I drove by the sale I wouldn't stop. I had my route mapped out so that I would not be driving all over aimlessly searching. And I had extra snacks and toys to distract A in the car.   
The first stop we made I bought a very small little tikes play structure, for $6.  I was so happy. It was perfect. Then at the third stop we made I found a little Dora lawn chair which A immediately sat in and refused to leave, which was fine with me since it was $3 and was in great condition. And we also found an adorable little play oven. I have been trying to decide if I should get a little play kitchen for a while and since this one was $5, it seemed like a steal. 

Today I am working on a gift for Aaron for Father's Day. I recently found a post on a blog about this great website that I am trying out.  I have made many digital scrapbooks and things using different websites as well as using My Digital Studio from Stampin' Up.   
But this website seems to be reasonably priced and user friendly.  I will give a full review once I have finished my project.  Post to follow. 

But for now I would love to give  you some great links to felt food tutorials. Some I have already used to make A some felt food, and some that I am super excited to get to use. I hope you enjoy.
I will post some of the felt food that I have made as soon as I can round them up from where my daughter has stashed them. 

Free Felt Food Tutorials:

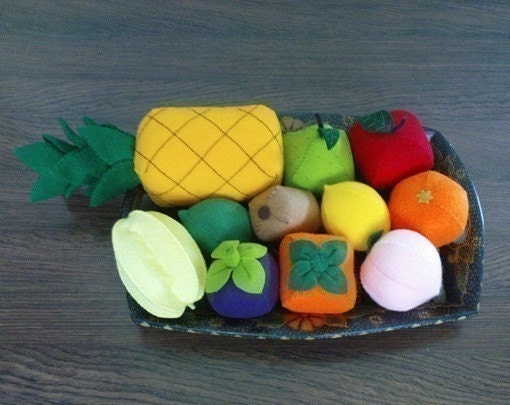
Awesome grouping of felt food tutorials ( I have already made the grapes, pear, banana and apple)   found here

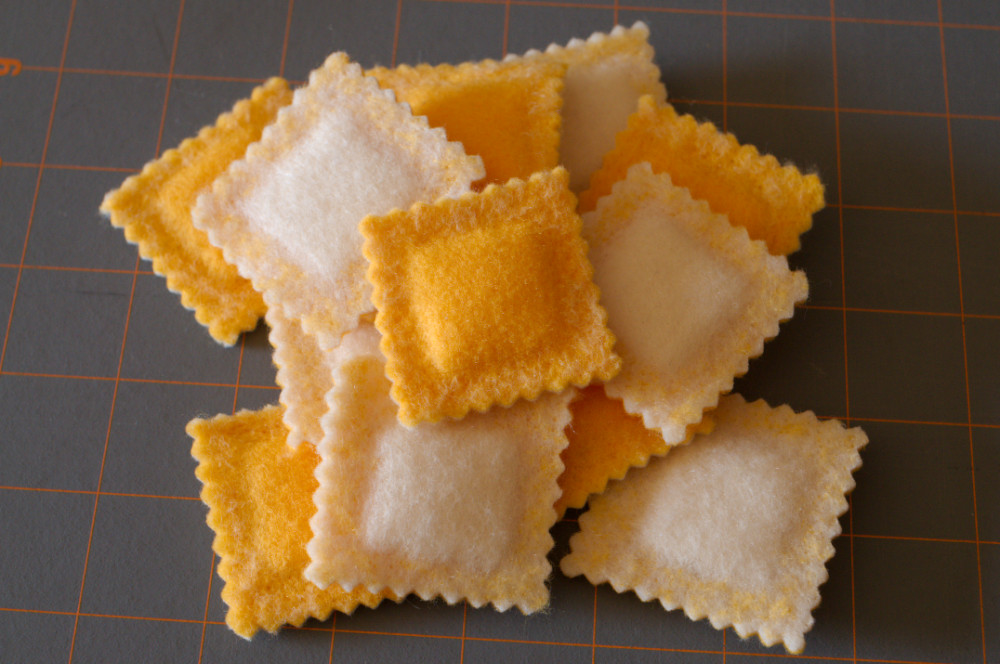
felted ravioli from one One Inch World
Felted Egg found here

Lettuce Tutorial  found here

Ravioli here

Tomato Slice here

Pizza Slice  here


Another Great List of Tutorials from Helping Little Hands found here

This isn't a tutorial But its a cute little sandwich   found here


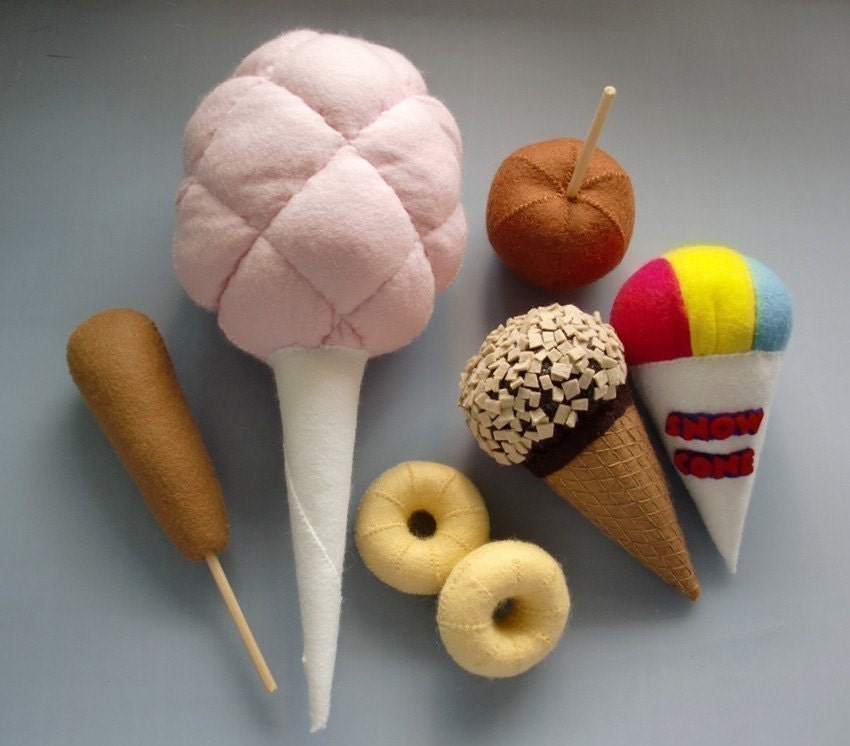
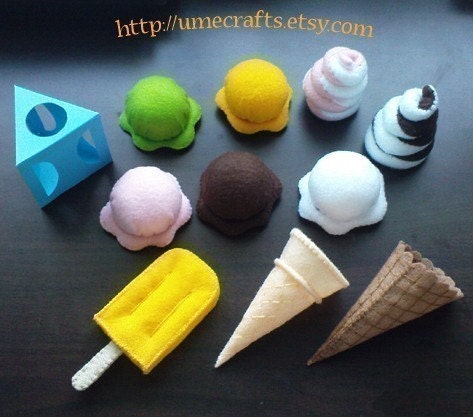
You can purchase patterns or completed food from a million different Etsy sites.  Check them out here


I love the stuff found on this Etsy store. 


umecrafts


umecrafts
umecrafts


Wednesday, 30 May 2012

Sunny Skies and Tasty Treats

Today is a beautiful sunny day and after a few days of rain and gloomy skies you would think that I would be totally excited to embark out into the sun. We did go out, and I tried to enjoy it, I really did. 

I took A outside and let her go nuts with the sidewalk chalk, but I just wanted to go back inside. The ground is hard, the sun is so bright, and it was making me feel so hot and tired.  How horrible is that. I guess I can blame some of those feelings on being large and pregnant but really its just sad to think that I am not out there enjoying the sun.  

But now A is sleeping and I am enjoying the smell of brownies in my house.  Isn't that such a wonderful smell, the smell of baking. Oh I love it. Honestly I would bake everyday if I wouldn't gain a million pounds from eating it all.  

Today felt like a brownie kinda day for some reason. It was almost cookies, but then I opened the pantry and found a box of Baking Chocolate and decided it was a brownie day instead. I used my tried and true recipe that I have made about a million times. The result is always the same when I make them, and the best part about them is that they are wonderful at any temperature. They aren't those kind of brownies that you have to devour right away cause they aren't as good when they are cool. There have actually been times that I have made these and tried to cool them quickly instead of eating them hot. 

I have tried baking this recipe into all kinds of pans instead of just using the plain old 9x13. They are great in muffin tins both regular and mini as well as in shaped pans and cake pans.  The recipe calls for 1 cup of Pecans but my husband is not a huge fan of nuts and we have friends with nut allergies so I normally just bake these without the nuts. I have substituted chocolate chunks and chocolate chips for the nuts but really most of the time I leave them plain. Why mess with a good thing (or in this case a great thing). 

Today however I decided that I would put half the amount of pecans in and that I would also cut up my stash of Creamy Caramels and add them as well.  mmmm Caramel. They turned out so tasty. I am so glad that I tried something new, and now I feel like making them again and doing something different. My only warning with using the caramels is that it can make them really hard to get out of the pan nicely and makes the brownie very chewy. (Chewy and delicious but maybe too chewy for some)

I wonder how many different delicious items could be added to brownies. mmmm

Anyway here is the recipe, just in case you wanted to try a piece of heaven. :)


1/2 Cup Butter
4 Oz Baking Chocolate ( I use semi-sweet)
4 Eggs 
1/4 tsp Salt
2 Cups Sugar
1 tsp Vanilla
1 Cup Sifted Flour
1 Cup Chopped Pecans  (or whatever yummy combination you can think of)

1. Melt butter and chocolate.   ( I use a big glass bowl and the microwave to do this instead of doing it in a double boiler. I am all about saving time. when doing it in the microwave I normally put it in for a minute, stopping to stir it a few times. Then I take it out and stir it until the chocolate is fully melted)

2. Beat eggs and salt until light in color and foamy. 

3. Gradually add sugar and vanilla and continue beating. 

4. With few swift strokes fold in COOLED chocolate mixture. 

5. Before uniform in color, fold in flour. 

6. Then before uniform in color, gently stir in pecans. 

7. Pour into a greased 9x13 pan. 

8. Bake in 350' oven for 25 minutes. 

9. Cut when cool. (if you don't wait until they are cool the pieces will be very crumbly and hard to cut. I very rarely wait and my brownies are never cut very nice)


I couldn't wait until it was cooled to try a slice. so the top and sides are very crumbly and not as pretty looking as they could be. 


This is what the insides look like. Doesn't that make your mouth water.  


Tuesday, 29 May 2012

Busyness and Some Denim Bibs

My life has become fairly hectic in the past few weeks as we prepare for Baby # 2's arrival and for my husband to start doing our home renovation.  Most of my craftiness and baking has been put on the back burner for a time while we clean and organize. But that seems to be finally stopping and allowing me to enjoy my quiet "me" time while A naps.  And Praise the Lord, she is napping longer than usual and is giving me much more time to at least attempt to be productive.
Not that I get as much done as I used to since I am starting to waddle more than walk, and I can only sit for so long until my hips hurt. Funny how much an extra 20+ pounds of the front of your body can really throw things off.
Anyway, my naptime today was used to create some denim bibs for both my daughter, A, and my nephew. And once I find some cute little man fabric I like a little more than what I have, I will make one for Baby #2. I have had them pinned on Pinterest for a while and finally decided I should actually make them.  I have resolved that I will make everything I have pinned and that if I am not really going to make it I shouldn't just pin it cause its cute...since I have way way too many pins on there already.

I used a great tutorial with pictures and a easy to follow step by step from this site here:

http://www.thimblythings.com/2009/06/01/in-praise-of-denim-bibs/

I would post a picture of the actual bibs that I made, but my daughter has already been wearing it and used it for lunch. They are so simple and so cute.